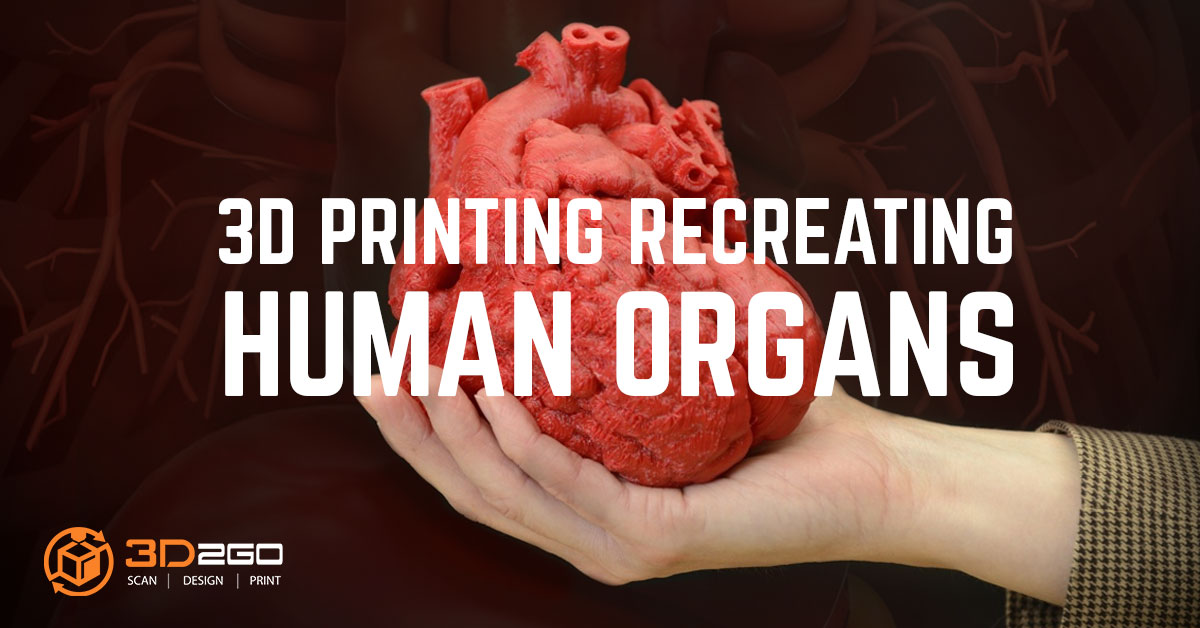
Saving Lives Using 3D-Printed Human Organs
May 23, 2022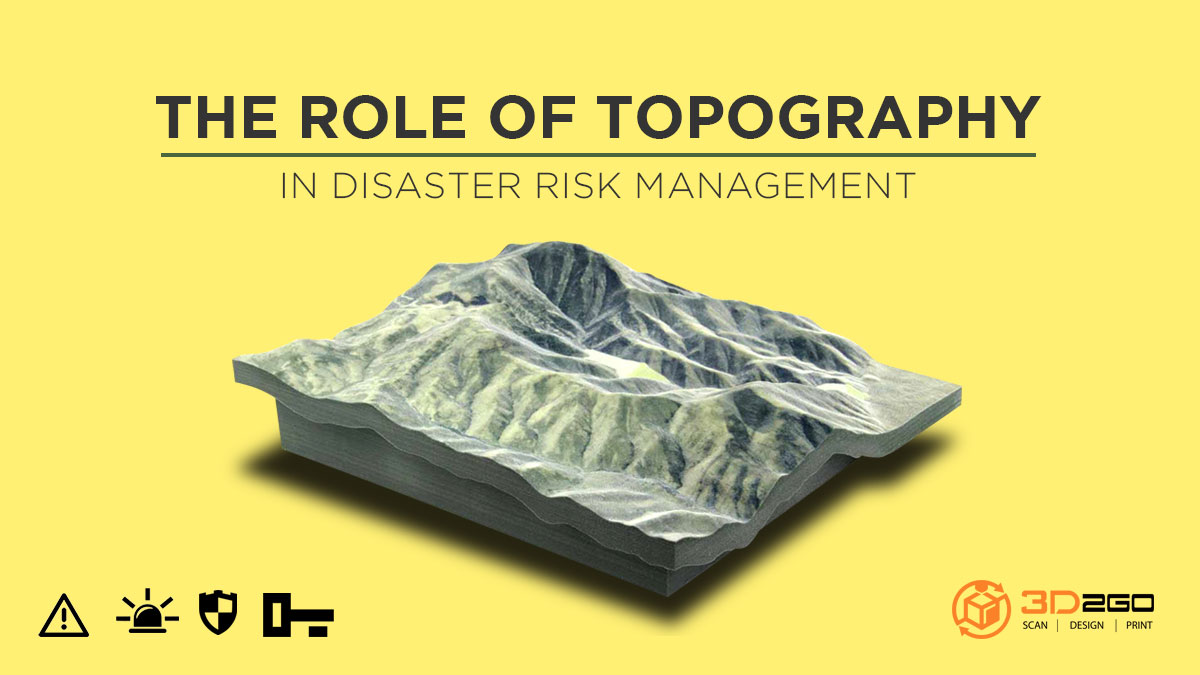
Use Of Topography Maps In Disaster Risk Management
May 23, 2022A Guide For Your Scanning to Reverse Engineering 3D Model Process
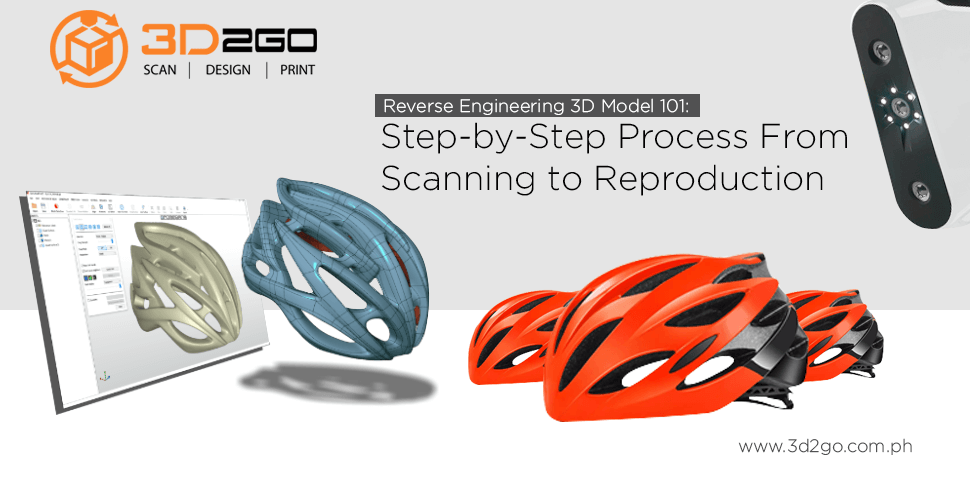
Reverse engineering 3D model is a very useful method to determine a function of any parts. It allows us to manufacture components that have no existing blueprint. On top of that, it is also more convenient. You don’t need to manually disassemble the object to analyze its parts.
There are a lot of advantages when doing reverse engineering. It maintains the quality of the product while leaving rooms for improvement. It also allows old technology to function again as it can print its old parts.
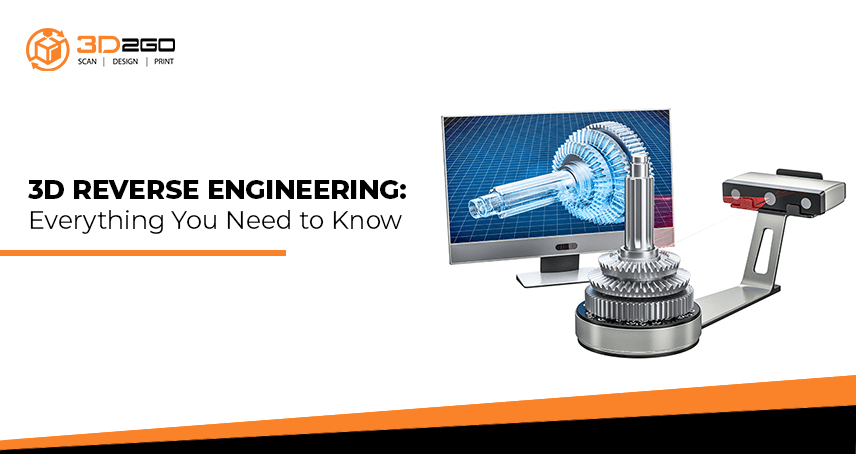
However, before doing the 3D reverse engineering, you must scan the object. It allows the designer to easily spot any malfunction in the device over the computer. Scanning it also makes it easier to convert the object into any file applicable for editing.
There are tons of processes to undergo before the production itself in reverse engineering. In this article, we will take a look at these steps.
Step 1: Determine the Purpose of the Project
In reverse engineering, you need to know first what you are going to do with the device. This will determine what parts are essential and if you need to further improve it. Figuring out this first step gives you a better end result.
You can also contact a company that is expert in 3D reverse engineering. This will save you more time in brainstorming with yourself. They can suggest several procedures on how to make things easier. Besides that, they can provide deliverables so that you can have data that suit your needs.
Step 2: Define the Parts to Scan
Doing step 1 thoroughly will help you get through the second step. Once you determine the functionality you can easily identify the parts to scan. It will save you more time and money. Besides that, you need to identify the parts to measure its dimensions. Once you know the dimension you will know what kind of 3D scanner you need.
There are different scanners available in the market. The type of scanner you need depends on how you will use it. For smaller objects, you can use a handheld scanner. However, there are some scanners that are for larger projects.
Step 3: Laser Scanning
You need to prepare the object for the laser scanning. First, choose a place where the area is well lit. This way, you can capture the most accurate appearance of your object. Make sure that the object is in a steady table to prevent any errors in measuring.
Besides good lighting, you also need to spray coat the object. This temporary matte powder improves the accuracy of scans. This is because some glossy parts can compromise the ability of the scanner to capture the surface. Furthermore, you can’t scan a reflective and transparent object without the sprayed matte coating.
Step 4: Repairing the Scanned Data
After scanning the object, you still need to make sure that it is a high quality. Some scanners create extremely big mesh files. These large mesh files can greatly affect the project later. Thus, software needs to repair the mesh. The designer will fill the gaps between dots from the scanned objects.
Scanner software simplifies the scan. Moreover, it makes the data more manageable if you convert it to CAD. However, there are some instances you are damaging the 3D model after reducing the mesh files. With this in mind, be careful not to oversimplify the details of the scanned data.
Step 5: Import as a CAD Model
Once done “cleaning” the scanned model, you will have to import it to a CAD software with reverse engineering tools. This is where you will do all the reverse engineering work. Here are some of the best software that you can use for reverse engineering:
- 3DEXPERIENCE WORKS
- 3DEXPERIENCE SOLIDWORKS
- DELMIA WORKS ERP System
- 3D Creator
- 3D Sculptor
- SIMULIAworks
- 3D Render
- 3DEXPERIENCE DraftSight
After importing the data as a CAD model, you need to extract the parts you need. Extracting the object allows you to build a solid model that is editable using tools. You can use a semi-automatic surfacing for paths that are hard to draw.
However, if you want to allow the computer to freely extract the object then you can use an automatic surfacing. It is much faster but it restricts you from customizing the extracted object.
Of course you can do a manual redraw of the project. It will take time, but it will give you full control over the result. However, it is only recommendable for simple shapes like holes square shape objects.
Step 6: Integrate New Objects
A good portion of your purpose in reverse engineering is to improve a product. Thus, you are not just “copying” the object itself. Integrating new parts on the model is important as it gives new function to the object without losing its main parts.
The pattern of the new component resembles the original item. Reverse engineering software can also calculate the exact dimension for your integrated parts. This will prevent you from making costly errors by having an integrated object that does not fit with the original model.
Step 7: 3D Printing
When you are done with all these procedures, it’s time to test it in reality. You can 3D print it to a SLA 3D printer. This kind of printer can give you the same level of accuracy that you can get with an engineering-grade 3D scanner.
You can work on a prototype model of your product after you print it. Rapid prototyping gives you an idea if your project is successful. It also suggests some improvements you can do to further develop the product. Printing a sample product is cost-effective than doing a mass production immediately.
Step 8: Manufacturing of the Reverse Engineered Model
Once you’re done testing the prototype, that is when you can do a mass production. You can contract a professional 3D printing company to work on the manufacturing. All they need is the CAD model, files, and blueprints of the project.
For some, it is inconvenient to forward several information to different companies. They prefer to deal with a business who can do it all. Fortunately, there are some end-to-end 3D related services available in the Philippines. They can do everything from scanning to mass production.
3D Scanning Spare Parts: How Big Can You Scan?
There are a lot of applications for 3D scanning of any spare parts. This technology offers limitless possibilities of what you can do. With this in mind, how big of an idea can you think of? Is there a restriction in terms of the size you can scan? The answer is no!
Although it may be hard to scan a large object, you can always scan its parts. Once done scanning the parts, you can always assemble it to a CAD software. There are some projects like windmills where they use scanners to make a replica of the turbine.
Moreover, you can also scan an object as small as 1cm. It is perfect if you want to customize smaller items like a pen or a hairclip. Some structured-light 3D scanners can scan objects with a size of 1cm to 3 meter. When looking for 3D scanners, make sure that it can accommodate the size of your object.
How Much is 3D Scanning Reverse Engineering Services?
There is a stigma that 3D services are expensive because it is using costly machines. However, using 3D products can give you more benefit compared to other services. So, 3D reverse engineering is not really pricey. It is more reasonably priced depending on what you need.
But, the ballpark figure is ₱5,000 above. The total cost of the project depends on the model that you are doing. On top of that, you have to consider the software you will use and materials for 3D printing.
At the end of the day, you can still get a proper amount if you only have one company to deal with all of your service. Some businesses are offering package service that is relatively less expensive compared to single services from other companies.
3D Reverse Engineering Service in the Philippines
As stated, it is better to transact with a 3D company that has all the services you need. For one, you don’t need to contact multiple businesses for different 3D services. For another, they can provide discounts if you will avail more than one of their services.
3D2GO is the leading end-to-end 3D related company in the Philippines. In fact, we are the only one who can offer you multiple services at the same time. Our prices are also reasonable even if we are using top of the line technologies.
Contact us today if you want to inquire about our amazing 3D services.


