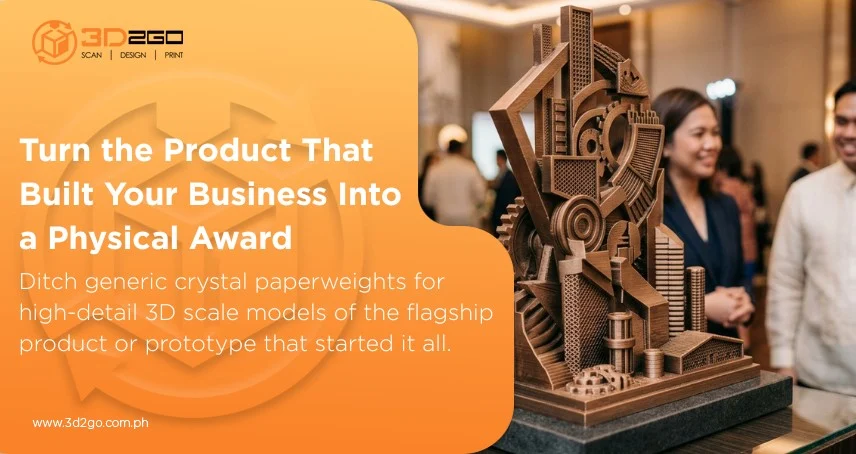
Trade shows, retail pop-ups, and corporate exhibits run on quick visual impact. When attendees drift down a crowded hall or mall atrium, flat vinyl banners, standard pull-ups, and generic acrylic stands usually blend into the background. To pull real foot traffic into a booth, brands are turning to bold three-dimensional elements—like scaled-up product replicas, backlit dimensional logos, and interactive display mounts that practically ask people to stop and take a closer look.
Bringing these physical structures to life requires a build process that handles complex shapes without sacrificing structural accuracy. Working with experienced 3D printing services Philippines gives design agencies and marketing teams a clear path from rough creative concepts to polished booth props. Understanding how custom 3D printed displays move from initial CAD models to finished floor pieces helps businesses skip disposable props and invest in reusable assets that hold up event after event.
Why Modern Brands Are Moving Away from Traditional Props
For decades, commercial prop makers relied heavily on manual wood carving, hand-cut Styrofoam, and basic sheet metal work. While those traditional craft methods still exist, they come with real operational headaches for modern event planners.
Hand-sculpting organic shapes or detailed product features takes significant time and specialized craftsmanship, which quickly inflates production budgets. On top of that, materials like Styrofoam chip and dent easily during transport, absorb ambient humidity, and usually end up in a dumpster after a single weekend expo. Even worse, when you run multi-city activations across Luzon, Visayas, and Mindanao, hand-carved props rarely look identical from one location to the next.
Switching to custom 3D-printed displays solves these practical bottlenecks. Computer-guided additive manufacturing uses digital 3D files to build lightweight, sturdy, and mathematically exact physical pieces. This gives you clean, professional-looking props that easily handle the rough wear and tear of multi-city event tours.
Global trade show and marketing research shows that engaging physical product demonstrations and interactive booth displays directly increase visitors’ likelihood of buying from or partnering with an exhibiting brand. Sturdy, custom 3D-printed displays withstand heavy attendee handling throughout multi-day expos.
How a Custom Display Gets Made: Step-by-Step
Creating a reliable custom display takes more than just loading a file and pressing a button. It follows a clear, practical workflow to make sure every prop looks sharp, stands balanced, and matches your brand guidelines.
1. Concept Talk & Rough Sketching
Everything starts with a quick discovery phase. Creative teams lay out the prop’s purpose, key dimensions, venue constraints, and main viewing angles. Whether you start with a rough napkin sketch, a 2D vector logo, or reference photos, designers first map out the basic scale and structural needs.
2. 3D CAD Modeling & Digital Sculpting
Next, 3D artists turn those 2D ideas into digital 3D models using design software and digital sculpting tools. Here, technicians build internal support ribs, split large designs into interlocking modular pieces, and hollow out space for LED backlighting or metal support frames.
3. File Optimization & Slicing
Once the 3D model gets the green light, engineers process the digital file through slicing software. This breaks the 3D object into thousands of thin horizontal layers and sets print paths, speeds, temperatures, and internal strength patterns.
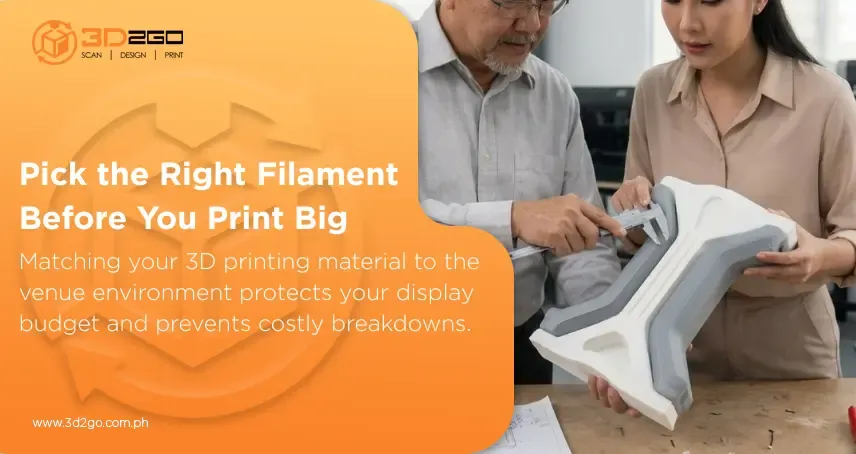
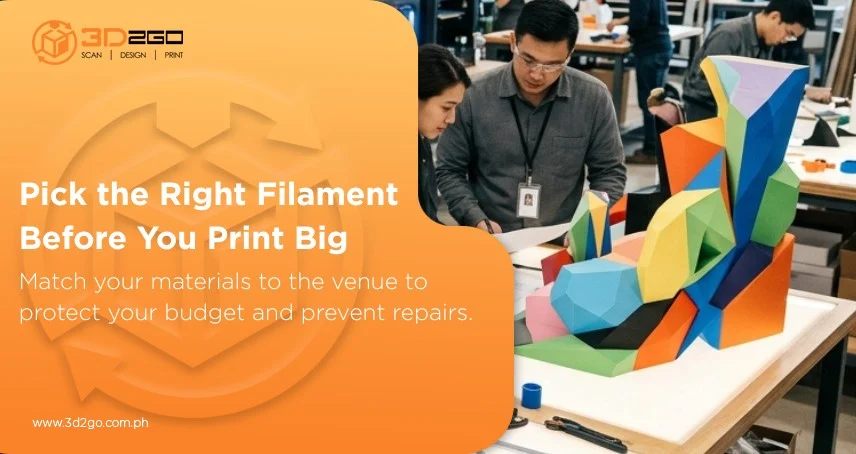
Engineers select specific plastic filaments based on where the piece will stand. Indoor trade show props typically use PLA bioplastics, while outdoor setups exposed to heat or direct sunlight rely on PETG or ABS thermoplastics.
4. Precision 3D Printing
Industrial 3D printers build the display layer by layer. Depending on the prop’s total volume, printing can take anywhere from a few hours for small mounting docks to several days for large multi-part structures. Custom 3D-printed displays let makers use hollow internal lattice patterns, keeping heavy-looking pieces lightweight for easy venue setup while maintaining solid outer strength.
5. Sanding & Surface Prep
Fresh off the print bed, plastic parts show subtle layer lines. Technicians sand, fill, and prime the surfaces until they feel completely smooth. If the display was printed in interlocking sections, technicians join the pieces using industrial adhesives and hidden alignment pins.
6. Painting, Hand-Finishing & Final Assembly
The final step brings the piece to life visually. Technicians apply automotive-grade primers, spray paint exact corporate Pantone colors, and coat everything in clear protective sealants. Technicians mount any extras—like backlights, magnetic latches, or clear acrylic covers—before a final quality check.
This structured fabrication process ensures your custom 3D-printed displays arrive venue-ready and built to last.
Traditional Props vs. Custom 3D Printed Displays
When you compare traditional wood and foam props with 3D-printed builds, the differences come down to accuracy, durability, and long-term value.
Old-school wood and foam props depend entirely on a craftsman’s manual carving skill, making exact geometric curves hard to pull off and nearly impossible to duplicate identically across multiple booth setups. They are also notoriously fragile, denting easily during transit and often getting thrown away after just one use.
In contrast, custom 3D-printed displays offer computer-guided millimeter precision, allowing for unlimited shapes, hollow centers, and built-in lighting tracks. Made from impact-resistant thermoplastics, these props resist warping and chipping. You can repack, ship, and reuse them across multiple event tours without losing visual quality, and you can easily print exact duplicates anytime using your saved digital files.
Smart Engineering for Safe & Easy Logistics
Designing displays for high-foot-traffic halls means paying close attention to stability and transport ease:
- Modular Slicing for Transport: Split oversized props digitally into smaller, interlocking pieces that fit standard shipping crates, keeping freight costs manageable.
- Weighted Bases for Safety: Adding weighted bases or concealed steel mounting plates keeps tall or top-heavy structures steady even if bumped by eager crowds.
- Hidden Cable Tracks: Docks and illuminated logos need internal routing channels to hide power cords and eliminate trip hazards behind your display counter.
Building these structural details into custom 3D-printed displays makes setup and teardown fast and painless on event day.
Build High-Impact Displays with 3D2GoPH
Your trade show booth and event props are often the first physical touchpoint potential clients have with your brand. Settling for flat banners or fragile, temporary props can prevent your setup from making a strong impression.
At 3D2GoPH, we help marketing managers, agency directors, and business owners turn bold visual concepts into clean, durable realities. As a complete 3D technology provider in the Philippines, we manage every step of production under one roof—from initial 3D CAD modeling and digital sculpting to high-resolution printing, hand-finishing, and final assembly. Whether you need an oversized product replica or a complete set of custom 3D-printed displays for an upcoming trade expo, our team delivers sturdy, detailed structures built for high-foot-traffic environments.
Don’t let your brand blend into the background. Contact the 3D2GoPH team today to start designing your custom event displays!
Frequently Asked Questions
How long does it take to design and print a custom 3D display?
Production time depends on prop size and design detail. Simple product stands or small logos usually take 3 to 5 business days, while large, multi-piece booth displays or bulk event orders take longer for 3D modeling, printing, and hand-finishing.
Do I need a ready-made 3D file to start a project?
No. You don’t need CAD experience. Just share reference photos, 2D vector logos, or rough sketches with dimensions, and the 3D2GoPH team will build the digital 3D model for your approval before printing.
Are 3D-printed displays durable enough to reuse for multiple events?
Yes. Unlike fragile foam props, custom 3D-printed displays use tough thermoplastics like PLA, ABS, or PETG. Sealed with protective topcoats, these pieces handle repeated packing, transport, and setup without losing their clean finish.
Can 3D-printed displays be painted in official brand colors?
Yes. After printing, we sand, prime, and spray-paint displays to match exact corporate Pantone colors in glossy, matte, metallic, or textured finishes.
Key Takeaways
- Digital Accuracy: Computer-guided 3D printing translates digital CAD designs into physical props with millimeter accuracy.
- Durable & Reusable: Built from sturdy bioplastics and thermoplastics, 3D props withstand repeated multi-city event tours.
- Streamlined Fabrication: An end-to-end process—from initial 3D modeling to hand-finishing—ensures smooth execution.
- Complete In-House Support: 3D2GoPH handles every stage under one roof, guaranteeing exact brand color matching and structural quality.