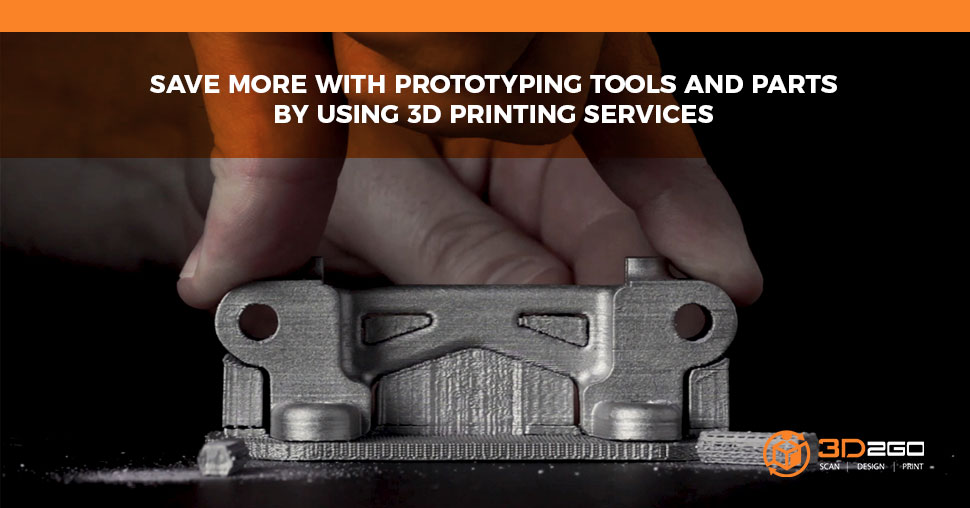
3D Printing Services – Prototyping Tools And Parts
July 3, 2022
Buyer’s Guide on How Professional 3D Scanner Work
July 4, 2022Techniques on how to finish 3d prints
Finishing is the post-printing process of smoothing the surface of a printed object. It is so that it looks as perfect and professional as possible. Large industrial 3D printers accomplish this task by using acetone cloud chambers, multi-axis enamel jets and agitating chemical baths.
However, you don’t have to have that kind of expensive equipment to finish 3D printed projects. Because every print material requires slightly different finishing techniques, we list down common finishing techniques:
- Polishing
- Varnishing
- Dyeing
- Painting
- Sanding
- Bead blasting
- Shot peening
- Heat treatments
- Vibratory systems
- Tumbling
- Vapor smoothing
- Solvent dipping
- Epoxy coating
- Epoxy infiltration
3d print finishing tools that 3D2GO use
Even though 3D printers are constantly becoming better, there are still all kinds of printing errors that can occur. Some helpful finishing tools are:
Knife tip
Cutting and removing sections including the removal of supports, brims, and rafts from your 3D print. Includes special coating to prevent plastic from sticking to the tip.
Needle tip
Great for clearing small holes and features or for detailed layer refinements in hard to reach places. Includes special coating to prevent plastic from sticking to the tip.
Scoop tip
Perfect to remove stringing and imperfections from inside holes or recesses. Can also be used to blend surfaces. Includes special coating to prevent plastic from sticking to the tip.
Point tip
General purpose tip for larger internal features and holes. Can even be used for making holes after printing! Includes special coating to prevent plastic from sticking to the tip.
DIY vapor polishing abs plastic
Hard plastic like ABS is the easiest, and can quite often be finished off without conventional sanding.
Acetone Vapor Polishing is a process that works well with ABS plastic. It is for smoothing over untreated 3D printed ABS plastic parts. This treatment is particularly good for prepping a piece for another process such as painting but it can also be used as a finished surface. By exposing the print to acetone vapors the individual print layers fuse together leaving behind a glossy surface.
Prep the surfaces
It is important that the files are not used for other things. Wood or metal particles can fuse into your print during this process, making for a bad finish.
Secure the product
To expose the piece to the vapor you will need to suspend your piece above the acetone.
Set up the acetone
Prep and heat acetone in a big beaker. Fill the beaker half an inch of acetone, and turn on the hot plate to medium heat with the cover on.
Vapor polishing
When your acetone is at a mild boil/ slow simmer you can expose the piece to the vapors.
Hang to dry
The piece will be sticky for a few minutes so hang it somewhere out of the way where it can harden again.
Finishing
If it all looks good you can keep it the way it is, or sand the piece for a finer matte finish.
But of course, safety is still important. If you are a beginner or an amateur, you can leave the whole process to our 3D2GO professionals.
Send us your files for restoration in our email address management@my3d.com.ph.
You can also reach us through our Facebook and Instagram pages today!
So what are you waiting for? Get in touch with us!


