Top 5 Most Portable 3D Scanner Available in the Market this 2021
July 25, 2022
On Quarantine? Try these 25 Indoor Activities at Home
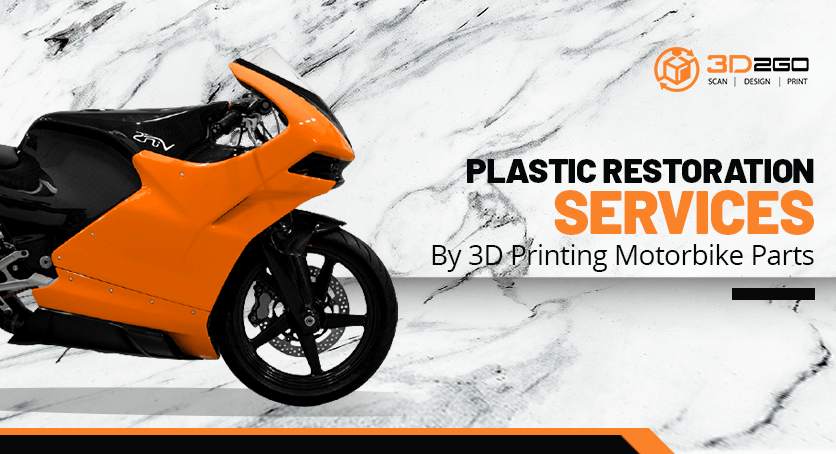
July 26, 2022Dirt Bike Plastic Restoration Tools
So here is a list of items that you can use. We found people had varying methods for doing this. But it is better to use a mix of ideas along with the knowledge you may have from previous experiences.
Not sure of the exact process before starting? Let us help you by listing down the tools to be used:
- Sponge with an attached scourer on the backside
- Hot water and dish soap for the initial wash
- Stanley knife blade
- Wet and Dry Sandpaper (120g -1200g)
- Buffer pad (and drill or buffer machine)
- Polish Compound
How To Restore Dirt Bike Plastics – 4 Simple Steps
It should be noted there are thousands of opinions and ways to do this.
This method may work the best for some. But it may not work the best for everyone else. There is a lot of info out there, but the one similarity that keeps coming up was that there is no magic chemical to remove oxidation. To do it properly is going to take time and effort.
Step 1 – Bath Time
For this make sure all the fixtures and fittings are removed.
There is nothing special about this stage. Simply use warm soapy water with a sponge and scourer to wash off as much mud and grim as possible.
There might be a couple of the pieces with stickers on them. For those, leave them soaking for a while in the bottom of the sink while cleaning another piece to help soften the glue.
Step 2 – Stanley Blade for quick progress
Some front fenders may have scratches in them. Some may be quite deep and although you can use coarse sandpaper (like a 80 grit) to remove these it is going to take a long time.
For this reason, a Stanley blade can be an effective tool. When you scrape the plastics it can be easy to catch the edge of the blade and make you judder and jolt which may cause you to slip and put new scratches into the plastic. These are likely to be on the deeper side because of the pressure you are applying to the blade.
If you decide to use a Stanley blade then make sure you go slow and steady, taking your time.
Step 3 – Start Wet and Dry Sanding
This is where the real work starts.
For the wet and dry sandpaper, stary with a 120 grit. This is because you did the previous part with a blade. If you are not then you may need a 60 grit or 80 grit. You want to start with the finest grade possible because it will save you work. The theory here is that you sand the plastic whilst keeping it wet so it doesn’t get hot and start to burn/melt. The grit relates to the number of particles per square inch on the paper, so lower grits (60 and 80) are course and higher grits become finer as they go up.
Start with lower grits to remove deeper scratches, then the next grade of paper up removes scratches from the one before.
Doing it in stages like this gives us an even surface and easy method. If you just went straight in with say 1200g then you will never make progress.
Use a trigger spray bottle filled with water to keep the area you’re working on wet. Another way is to continuously dip the sandpaper in a bowl of water. Start on one side of the plastic and work round in either clockwise or anti-clockwise direction. Keep the same direction throughout.
Sanding in longer strokes where possible will minimize the risk of creating an uneven surface. If you sand in a focus spot without doing the surrounding area then you will end up with a lower area.
Rotating the fender in the same direction will help you keep track and maintain an even surface. This is more important when you are in the finer grades and paper as you won’t be able to see the difference as easily between the different grades.
Step 4 – The Polishing Stage
If you are following along, by now you should have eliminated all scratches from your plastics and moved up through the wet and dry sandpaper grades until you get to 1200 grit.
The result at this point should be pretty good compared to when you started. But to finish it off you want to polish it to put some shine back onto it. For this, you may go with an electric buffer and also a drill attachment. There is no real difference.
3D Printing is the Future of Motorcycle Manufacturing
Times are changing fast and it’s only a matter of time before 3D printing is introduced into the sport for the public to use. We are now at the cutting edge of 3D manufacturing. We can pretty much print any material.
3D technology can print Titanium, Aluminum, steel, types of Carbon, and all sorts of plastic. It is even possible to build a prototype car using this technology and even a pretty sick one-piece motorcycle frame with no welds.
The idea is genius. Imagine building a swingarm that has webbing or any sort of bracing internally, a process that can’t be achieved using traditional manufacturing.
This means the overall weight could be reduced and still achieve the same strength and maybe better overall flex characteristics.
So what are you waiting for? Get in touch with us! Simply send us your files for restoration in our email address management@my3d.com.ph. You can also reach us through our Facebook and Instagram pages today!


